DIY Patio Projects Under $200
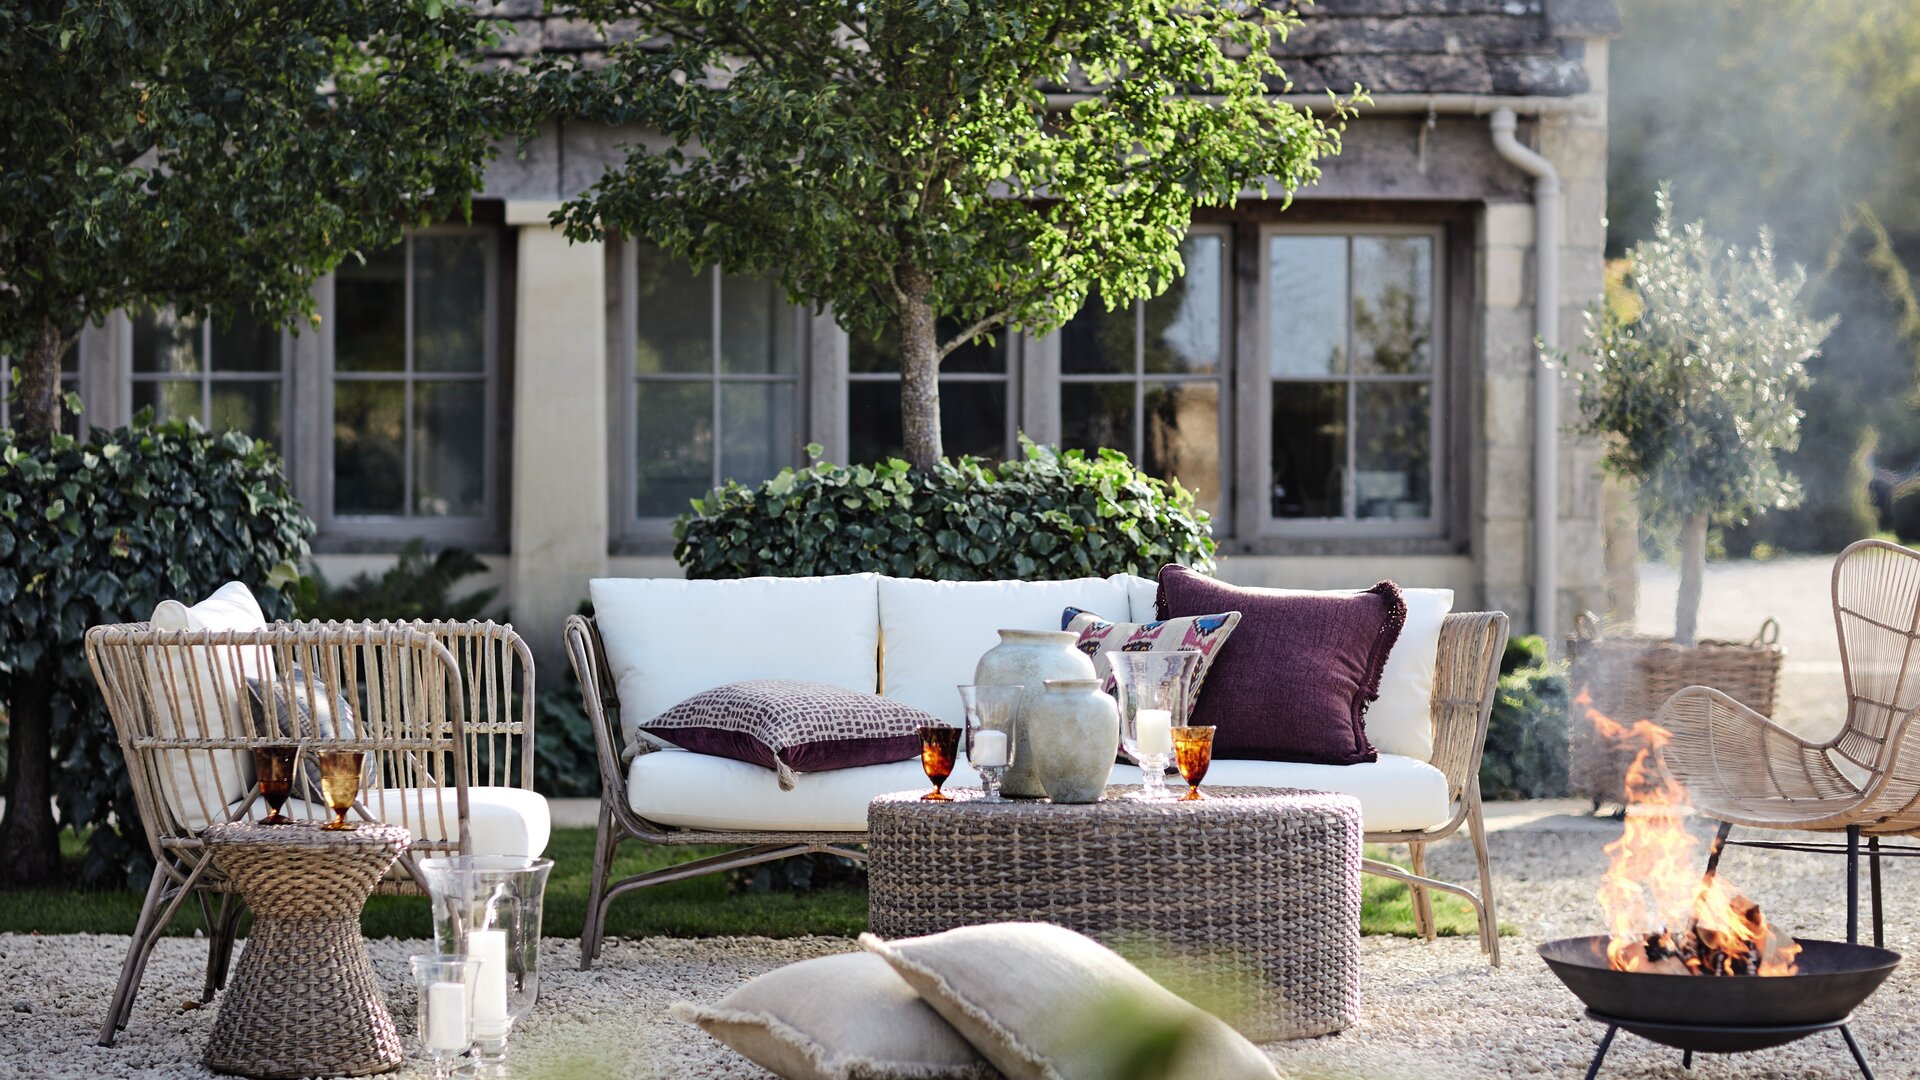
Transform your outdoor space with these budget-friendly weekend projects that deliver professional results without the professional price tag.
Creating an inviting outdoor space does not require hiring contractors or spending thousands of dollars. Strategic DIY projects transform basic patios into personalized retreats while keeping budgets intact. These six weekend projects each cost under two hundred dollars and require minimal tools, making them accessible to beginners and experienced DIYers alike.
The key to successful patio projects lies in choosing high-impact upgrades that deliver visible results. Rather than attempting complex renovations, focus on additions that enhance functionality, add visual interest, or improve comfort. Each project below includes estimated costs, required materials, and realistic time commitments to help you plan effectively.
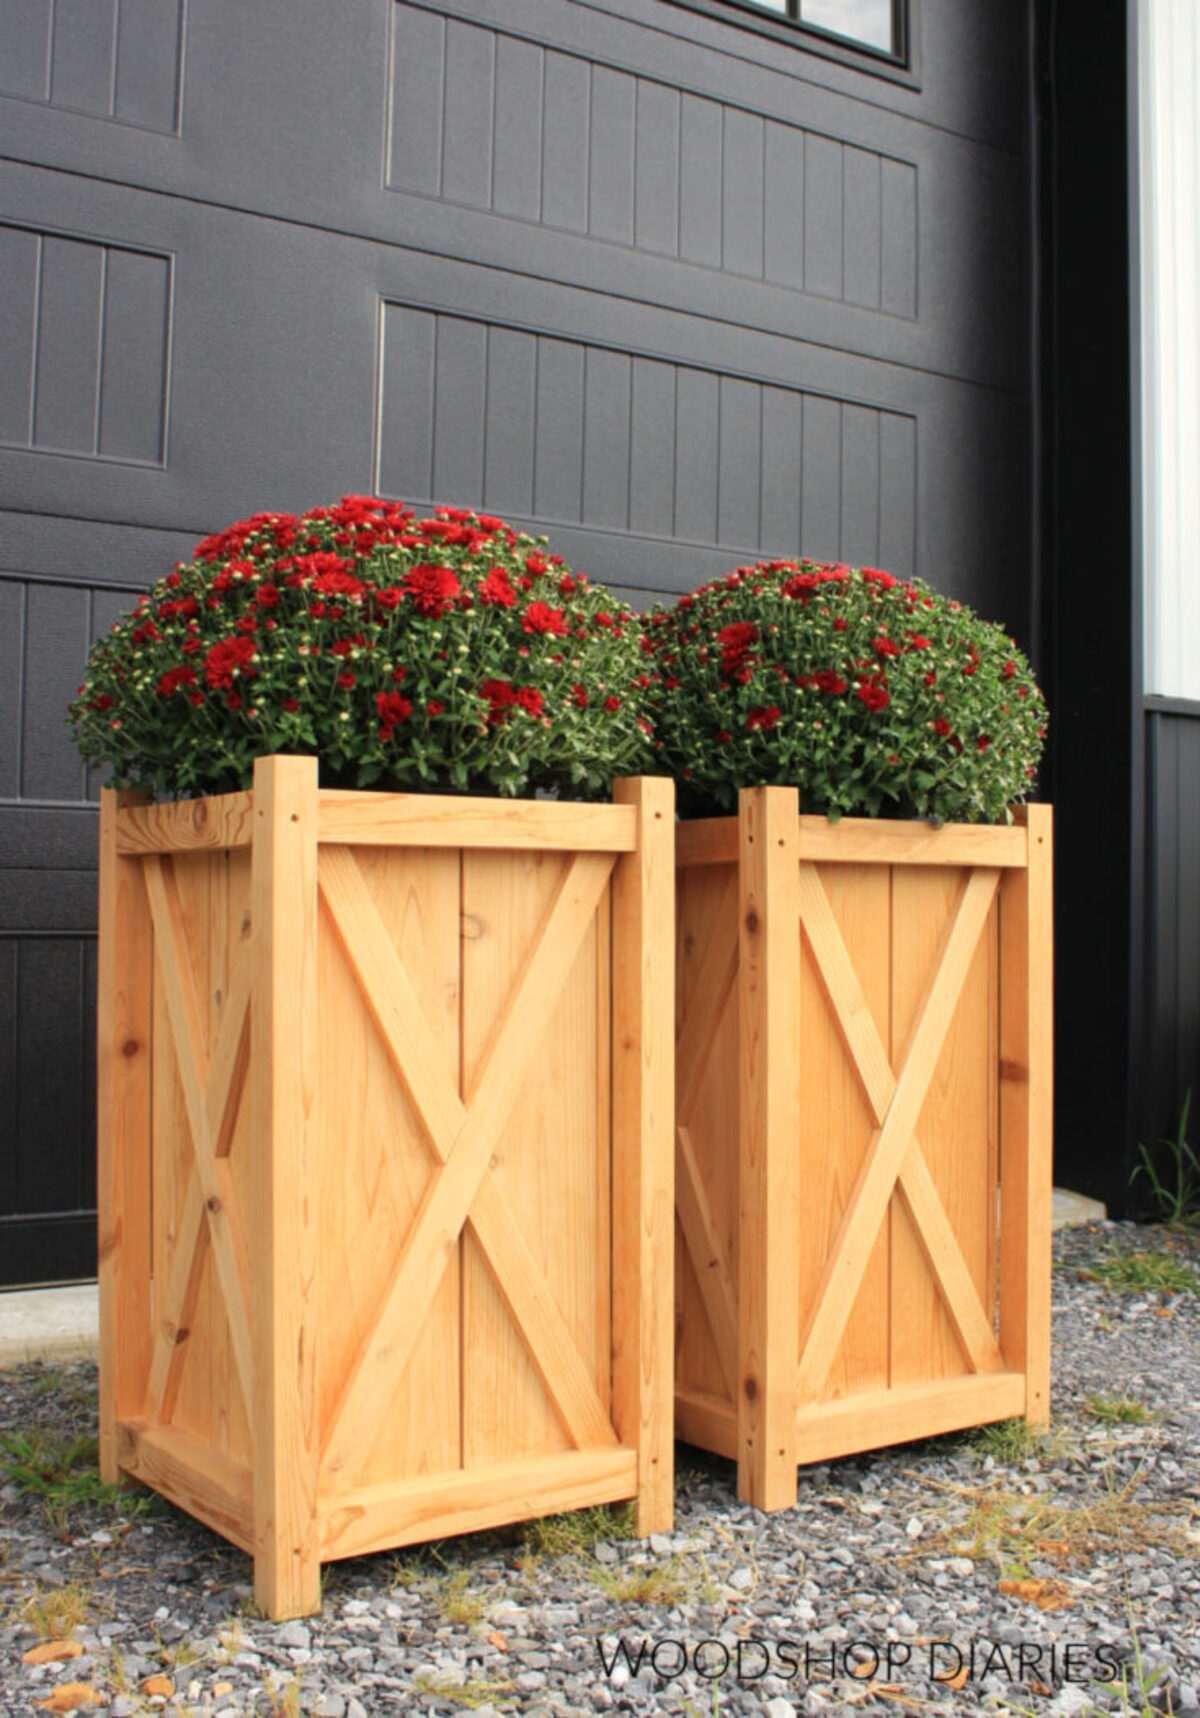
Build a Simple Planter Box
Elevated planter boxes add dimension to flat patio spaces while providing ideal growing conditions for herbs, flowers, or vegetables. Cedar or redwood naturally resist rot and insects, making them perfect for outdoor construction. A basic four-foot planter requires minimal cuts and can be assembled in an afternoon.
Start with untreated cedar fence boards for the sides and bottom slats. Cut four corner posts to your desired height, typically eighteen to twenty-four inches for comfortable access. Attach the side boards with exterior wood screws, leaving small gaps between bottom slats for drainage. Line the interior with landscape fabric to prevent soil loss while allowing water to escape.
Estimated Cost: $75-120 depending on wood selection and size
Time Required: 3-4 hours
Skill Level: Beginner
Create String Light Poles
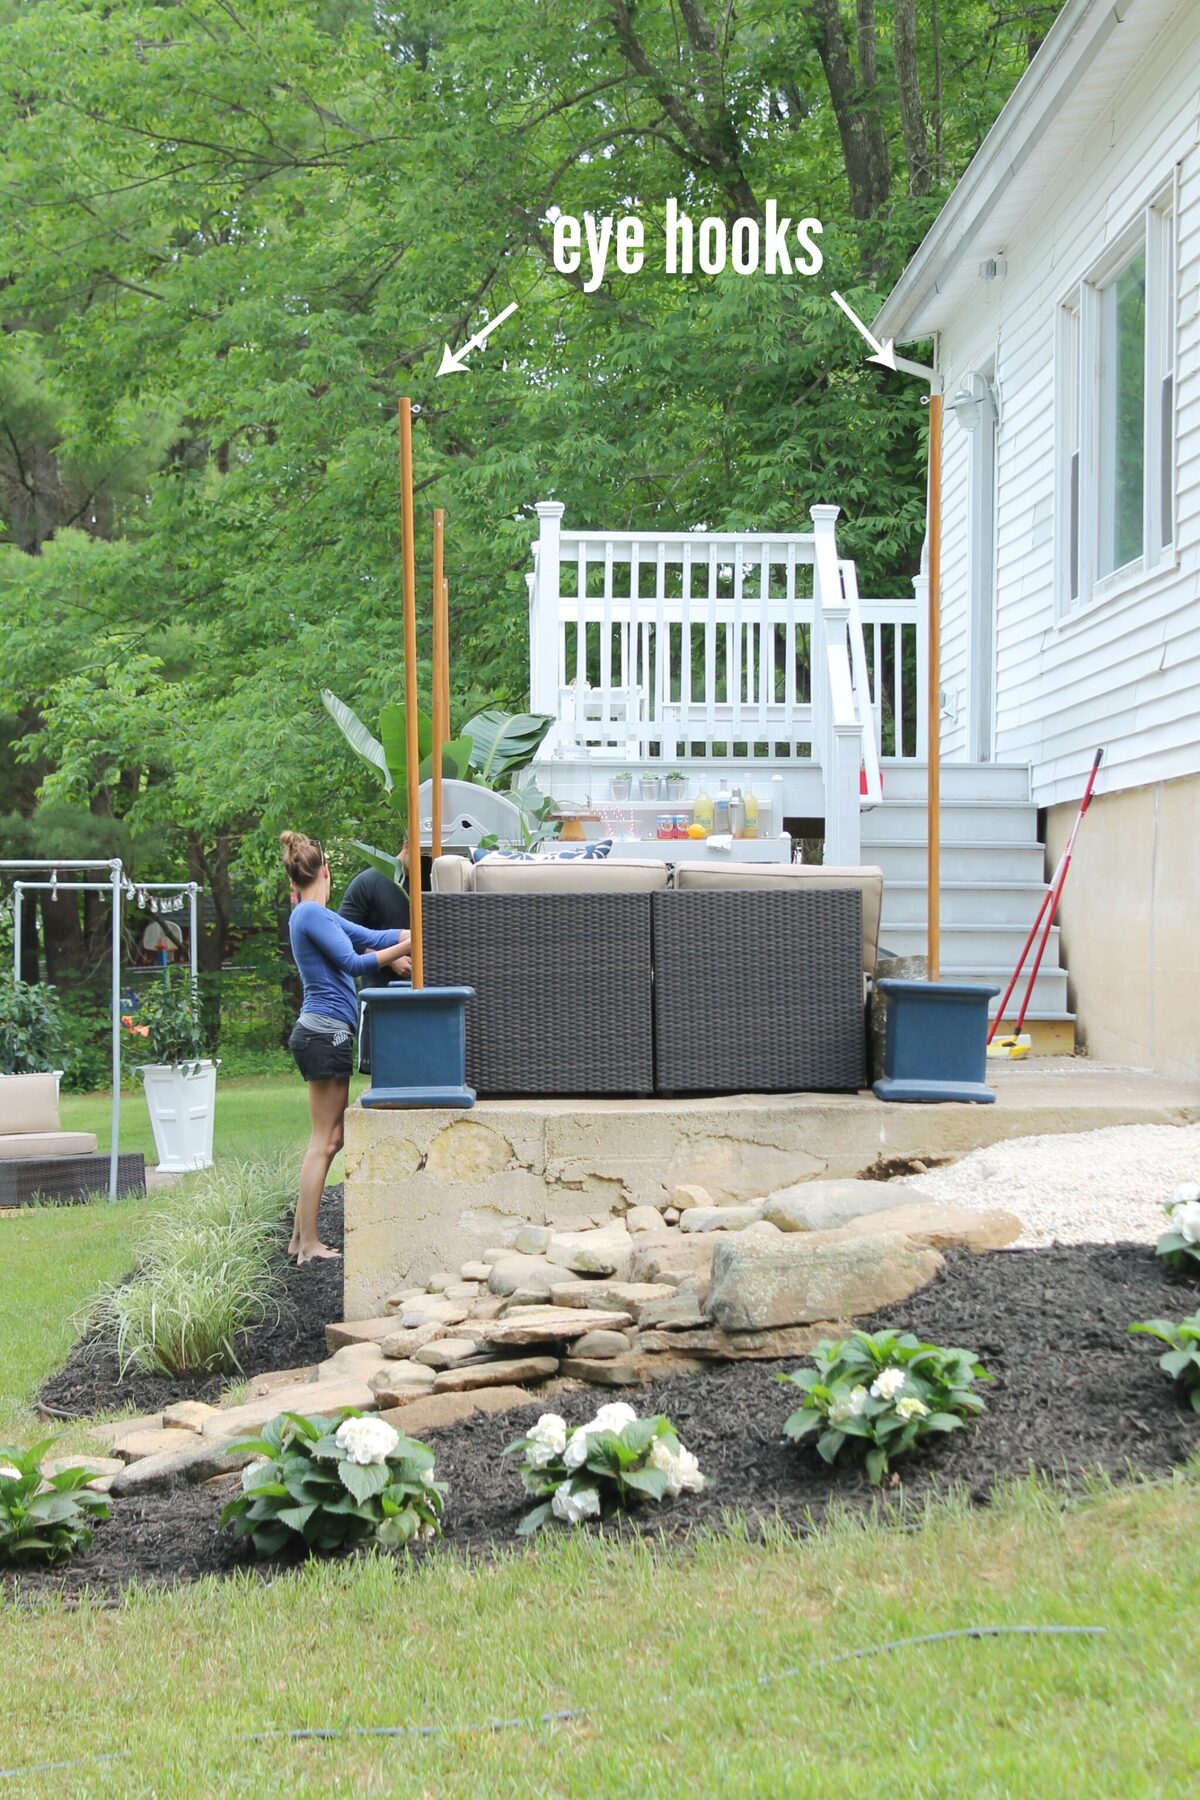
Permanent string light poles eliminate the need for existing structures while creating a defined outdoor room. Four-by-four posts set in concrete provide stable support for café lights, transforming patios into evening entertainment spaces. This project requires basic digging and concrete mixing but delivers dramatic results.
Dig holes twenty-four inches deep using a post hole digger or auger. Set eight-foot four-by-four posts in quick-setting concrete, ensuring they remain plumb while the mixture cures. Install heavy-duty eye hooks near the top of each post, then string outdoor-rated café lights between them. Add a dimmer switch for adjustable ambiance.
Estimated Cost: $150-180 for two poles and lights
Time Required: 5-6 hours plus curing time
Skill Level: Intermediate
DIY Outdoor Coffee Table
A custom coffee table sized perfectly for your seating arrangement costs a fraction of retail options. Reclaimed wood or new dimensional lumber both work well, with the choice depending on your aesthetic preference. Simple construction techniques create sturdy tables that withstand weather and use.
Build a basic frame from two-by-fours, then attach one-by-six boards across the top, leaving small gaps for water drainage. Sand all surfaces smooth, then apply exterior wood stain or paint for protection. Add hairpin legs for a modern look or build traditional legs from four-by-fours for a farmhouse aesthetic.
Estimated Cost: $60-90
Time Required: 4-5 hours
Skill Level: Beginner to Intermediate
Paint a Concrete Patio Floor
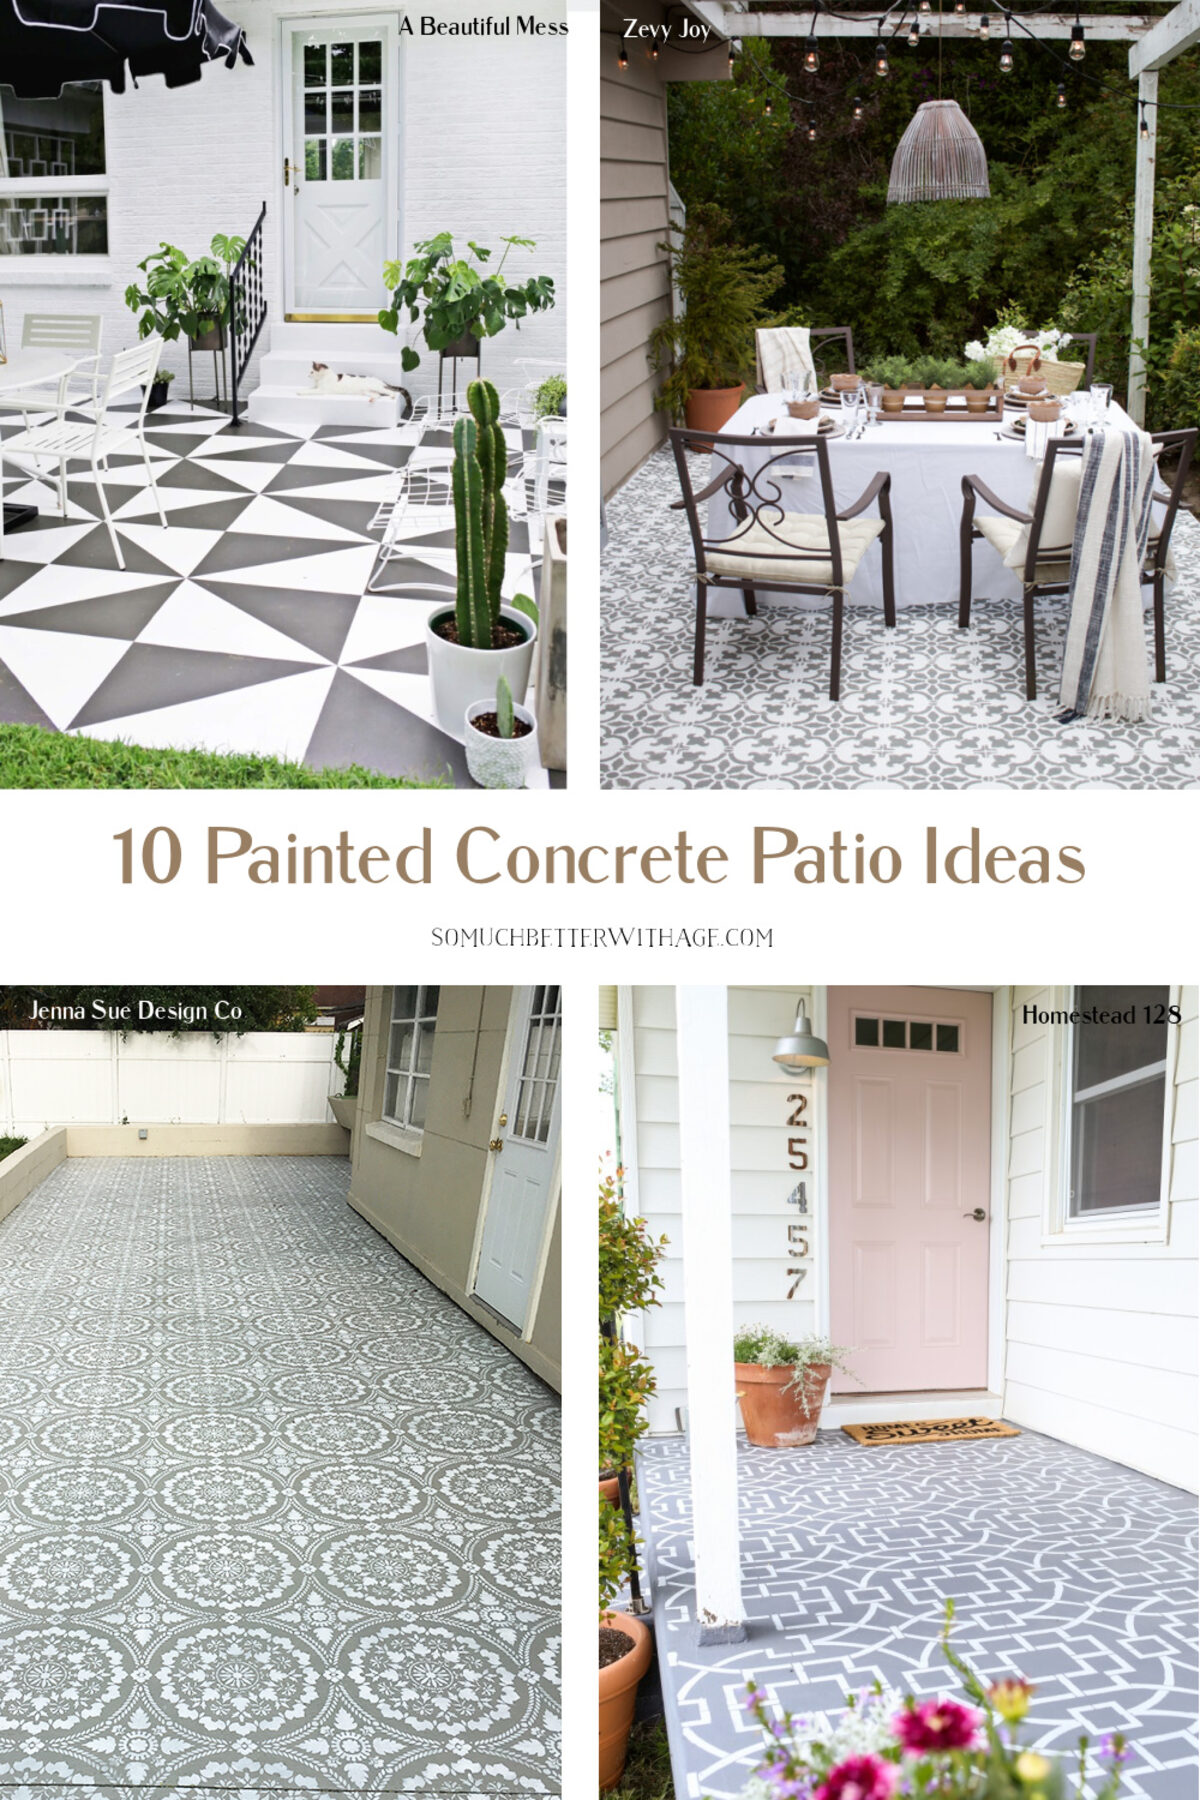
Concrete stain or specialized patio paint transforms dull gray slabs into colorful foundations. Stenciled patterns add visual interest without requiring artistic skills, while solid colors provide clean backdrops for furniture and accessories. Proper surface preparation ensures long-lasting results that resist peeling and fading.
Clean the concrete thoroughly with a pressure washer or stiff brush and degreaser. Allow the surface to dry completely, then apply concrete primer if using paint rather than stain. Use painter's tape to create geometric patterns or secure large stencils for repeating designs. Apply two coats of concrete paint or stain, following manufacturer's drying times between coats. Seal with clear concrete sealer for added protection.
Estimated Cost: $80-150 depending on patio size
Time Required: 6-8 hours over two days
Skill Level: Beginner
Build a Privacy Screen
Freestanding privacy screens define spaces, block unsightly views, and create intimate seating areas. Lattice panels offer quick solutions, while horizontal slat designs provide modern aesthetics. Build screens in sections for easy repositioning as your layout evolves.
Construct a simple frame from two-by-fours, sizing it to your desired height and width. Attach pre-made lattice panels or install horizontal one-by-fours spaced two to three inches apart. Mount the frame to heavy planters filled with concrete for stability, or attach adjustable feet for permanent installation. Stain or paint to coordinate with existing outdoor furniture.
Estimated Cost: $90-140
Time Required: 4-5 hours
Skill Level: Intermediate
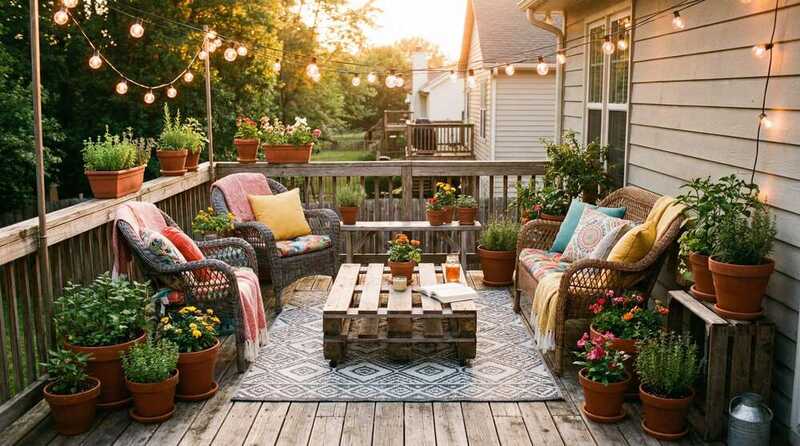
Create an Outdoor Rug with Stencils
Canvas drop cloths transform into custom outdoor rugs with fabric paint and stencils. This budget-friendly alternative to expensive outdoor rugs allows complete design control while costing a fraction of retail options. Sealed properly, painted rugs withstand sun and moisture for multiple seasons.
Purchase a canvas drop cloth in your desired size, then hem the edges or apply fabric glue to prevent fraying. Secure a large stencil with painter's tape, then apply outdoor fabric paint with a foam roller or stencil brush. Work in sections, allowing each area to dry before moving the stencil. Apply multiple coats for vibrant colors, then seal the entire rug with outdoor fabric sealer once completely dry.
Estimated Cost: $40-70
Time Required: 3-4 hours plus drying time
Skill Level: Beginner
Essential Tools & Materials
Most patio projects require a core set of tools that serve multiple purposes. Invest in quality basics rather than specialized equipment, as versatile tools prove more valuable over time. Rent expensive items like post hole diggers or pressure washers rather than purchasing them for single-use projects.
Basic Tool Kit: Cordless drill with bits, circular saw or miter saw, measuring tape, level, square, hammer, and safety equipment including eye protection and work gloves. A power sander speeds finishing work significantly.
Material Selection: Choose exterior-rated lumber, screws, and finishes designed to withstand weather exposure. Cedar, redwood, and pressure-treated pine all resist rot, though cedar and redwood offer superior aesthetics without chemical treatments. Stainless steel or coated screws prevent rust stains on wood surfaces.
Recommended Tools & Supplies
DEWALT 20V MAX Cordless Drill
Compact and powerful drill perfect for all patio projects. Includes two batteries and charger.
$99-129
Rust-Oleum Concrete Stain
Semi-transparent concrete stain in multiple colors. Covers up to 400 sq ft per gallon.
$35-45
Outdoor String Lights 48ft
Commercial-grade café lights with 15 hanging sockets. Weatherproof and dimmable.
$40-55
Kreg Jig Pocket Hole System
Makes strong joints without visible screws. Perfect for planter boxes and tables.
$40-50
Minwax Exterior Wood Stain
Penetrating stain with UV protection. Available in 8 colors, quart size covers 75 sq ft.
$12-18
Large Geometric Stencils
Reusable 12x12 inch stencils in modern patterns. Perfect for concrete and fabric projects.
$15-25
Canvas Drop Cloth 9x12ft
Heavy-duty cotton canvas perfect for DIY outdoor rugs. Pre-washed and ready to paint.
$25-35
Quikrete Fast-Setting Concrete
Sets in 20-40 minutes. 50lb bag perfect for setting two 4x4 posts. Just add water.
$8-12
Planning Your Projects
Successful DIY work requires realistic time estimates and honest skill assessment. Begin with simpler projects to build confidence and familiarity with tools before attempting more complex builds. Most beginners underestimate project duration by thirty to fifty percent, so add buffer time to avoid frustration.
Beginner Projects: Painted concrete, stenciled rugs, and basic planter boxes require minimal tool experience. Focus on careful measuring and patient execution rather than speed.
Intermediate Projects: String light poles, privacy screens, and furniture building demand comfort with power tools and basic joinery. Watch tutorial videos before starting to understand techniques and avoid common mistakes.
Weather Considerations: Plan projects during mild, dry weather for optimal working conditions and proper material curing. Avoid painting or staining when temperatures fall below fifty degrees or exceed ninety degrees. Allow concrete projects extra curing time during humid conditions.
Next Steps
These six projects provide multiple entry points for patio improvement regardless of skill level or available time. Start with a single weekend project to test your interest and capabilities before committing to larger undertakings. Many DIYers find the process rewarding enough to continue with additional projects once they experience the satisfaction of completed work.
Document your projects with before and after photos to track progress and identify areas for future improvement. Share completed work with online communities for feedback and inspiration. The skills developed through these patio projects transfer to indoor renovations and other home improvement tasks, making each project an investment in long-term capabilities.
Remember that imperfect results still deliver value—handmade character often surpasses mass-produced perfection in outdoor spaces. Focus on functionality and personal satisfaction rather than magazine-worthy aesthetics, especially for first attempts. With each completed project, your skills improve and future builds become easier and faster.