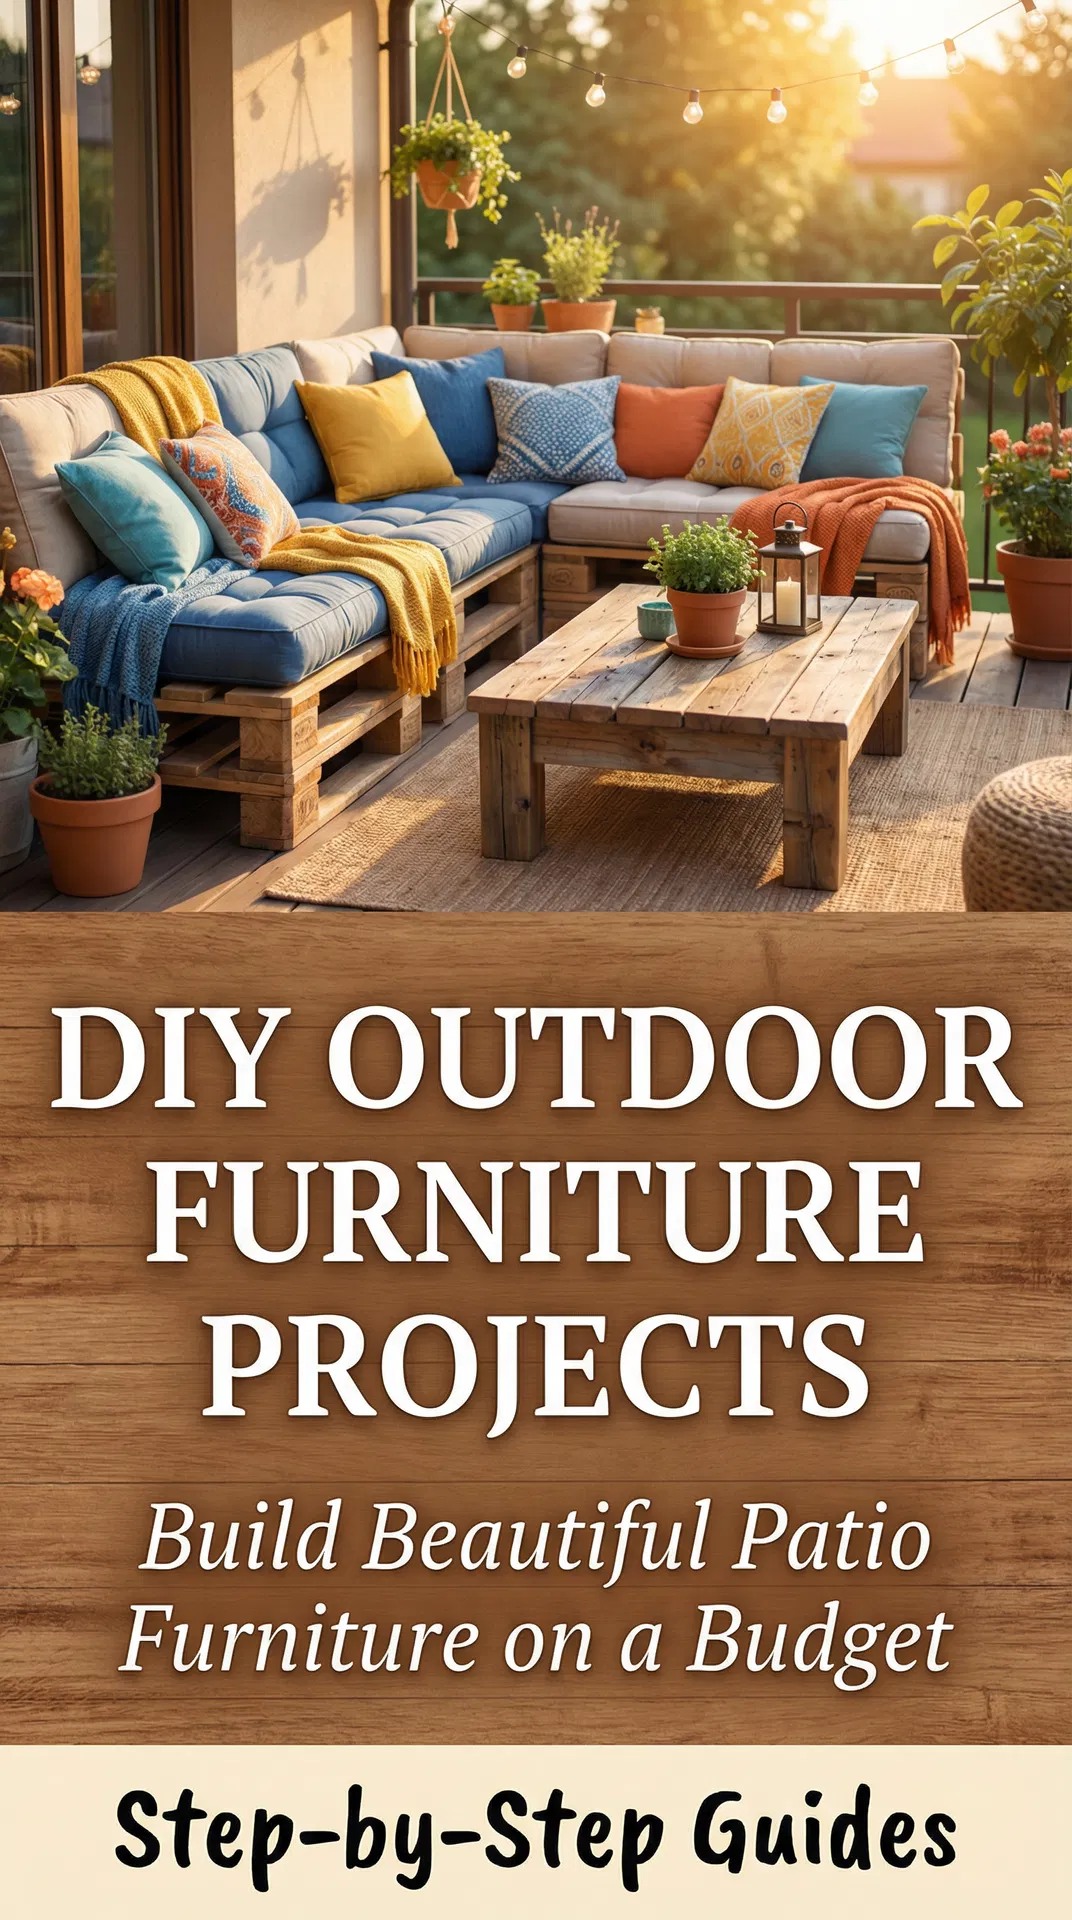
Store-bought outdoor furniture carries premium price tags that put stylish patio living out of reach for many homeowners. Yet creating beautiful, functional outdoor furniture doesn't require carpentry expertise or expensive tools. DIY outdoor furniture projects offer triple benefits: significant cost savings, complete customization to your space and style, and the satisfaction of building something with your own hands. From simple pallet sofas to elegant planter benches, these projects transform raw materials into conversation-worthy pieces that rival retail alternatives. Whether you're furnishing a budget-friendly patio makeover or adding character to your Southern porch, these DIY furniture projects deliver professional results at fraction of retail costs. This guide walks you through eight achievable projects with detailed instructions, budget breakdowns, and material lists that turn outdoor furniture dreams into reality.
Share This Article
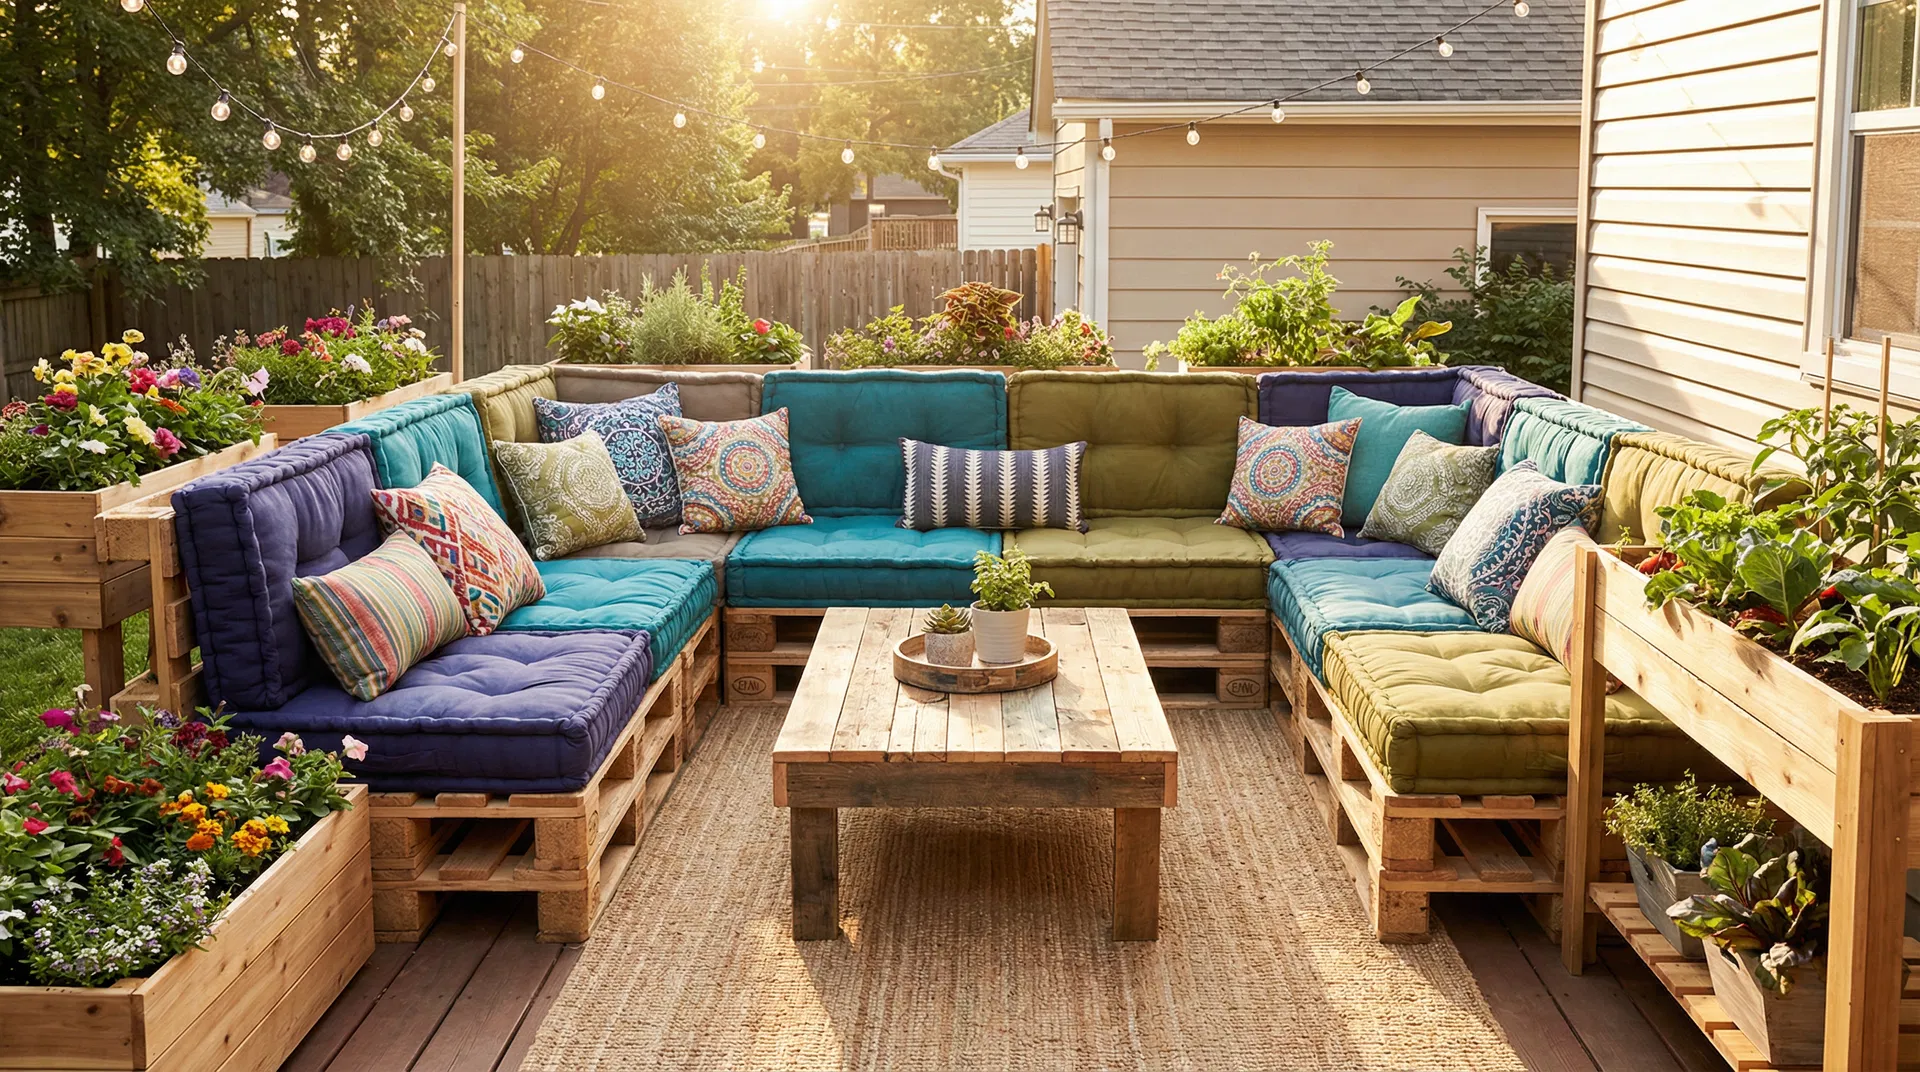
1. Pallet Sectional Sofa
The pallet sofa stands as the gateway DIY outdoor furniture project—accessible for beginners yet impressive enough to anchor entire patio designs. Free or inexpensive wooden pallets (often $10-20 each or free from businesses) stack and arrange into custom-sized sectionals that accommodate any space configuration. This project typically costs $150-250 including pallets, cushions, and finishing materials, compared to $800-1500 for comparable store-bought sectionals. The modular nature means you can start small and expand as budget allows.
Materials needed: 6-8 standard pallets (48"x40"), wood screws (3" deck screws), sandpaper (80 and 120 grit), exterior wood stain or paint, outdoor cushions. Tools required: Drill/driver, circular saw or hand saw, orbital sander (or sanding block), paintbrushes. Construction steps: Inspect pallets for structural integrity and remove any protruding nails. Sand all surfaces thoroughly to prevent splinters—this step is non-negotiable for furniture that contacts skin. Stack pallets two-high for seat height (approximately 18 inches), securing layers with 3-inch screws driven through top pallet into bottom. Arrange stacked units in L-shape or U-shape configuration, connecting sections with metal brackets or additional screws. Apply exterior stain or paint for weather protection and aesthetic finish. Top with outdoor cushions sized to pallet dimensions (typically 48"x24" seat cushions work perfectly). The entire build takes one weekend, with most time devoted to sanding and finishing.
Budget Breakdown: Pallet Sectional Sofa
| Pallets (8 @ $15 each) | $120 |
| Screws, brackets, hardware | $30 |
| Sandpaper and finishing supplies | $25 |
| Exterior stain (1 gallon) | $35 |
| Outdoor cushions (4-piece set) | $120 |
| Total Project Cost | $330 |
Compare to retail: $800-1500 for similar sectional
Outdoor Deep Seat Cushion Set (4-Piece)
Water-resistant cushions perfect for pallet furniture, includes seat and back cushions
$100-140
2. Cinder Block Bench with Wood Seat
Cinder block benches combine industrial aesthetics with dead-simple construction—no tools beyond a level required. Concrete blocks ($2-3 each) stack to create sturdy supports for wooden plank seating, resulting in modern, minimalist benches that cost $40-80 versus $200-400 for similar store-bought pieces. The hollow block centers accommodate planters, creating integrated greenery that softens the industrial look. This project works beautifully for dining benches, garden seating, or fire pit perimeters.
Materials needed: Cinder blocks (quantity depends on length—typically 6-8 blocks for 6-foot bench), 4x4 or 2x10 lumber for seat (length as desired), concrete adhesive (optional for permanence), exterior wood stain. Tools required: Level, saw (if cutting lumber to length), sandpaper, paintbrush. Construction steps: Level the ground where bench will sit—uneven surfaces cause wobbling. Stack cinder blocks two-high at each end, ensuring blocks are level and plumb. For benches longer than 4 feet, add center support blocks to prevent seat sagging. Apply concrete adhesive between block layers if creating permanent installation, or leave dry-stacked for movable furniture. Sand lumber smooth and apply exterior stain for weather protection and color. Rest stained lumber across block supports—the weight holds it securely for non-permanent installations. Fill block hollows with potted plants for integrated planter-bench combination. The entire project takes 2-3 hours including drying time for stain.
Pressure-Treated 4x4 Lumber (8 ft)
Weather-resistant lumber perfect for outdoor bench seats, naturally rot-resistant
$15-25 per board
3. Reclaimed Wood Coffee Table
Rustic wooden coffee tables anchor outdoor seating areas while showcasing natural wood character that improves with age. Reclaimed wood from old fencing, barn boards, or pallet wood provides free or low-cost materials ($0-50) with built-in patina that new lumber can't match. Simple frame construction using 2x4s creates sturdy tables for $60-100 total, compared to $300-600 for retail rustic tables. The weathered aesthetic complements any outdoor style from farmhouse to industrial.
Materials needed: Reclaimed wood planks for tabletop (quantity depends on size—typically 5-7 boards for 36"x24" table), 2x4 lumber for frame and legs, wood screws (2.5" and 3"), wood glue, exterior polyurethane or spar varnish. Tools required: Miter saw or circular saw, drill/driver, measuring tape, square, sandpaper, clamps. Construction steps: Cut reclaimed boards to uniform length for tabletop. Arrange boards edge-to-edge, alternating grain direction to minimize warping. Build rectangular frame from 2x4s sized to tabletop dimensions, joining corners with pocket screws or lap joints. Attach tabletop boards to frame using screws from underneath, allowing small gaps between boards for water drainage. Cut four legs from 2x4s (typically 16-18 inches for coffee table height), attaching to frame corners with angled brackets or pocket screws. Sand entire table to remove splinters while preserving weathered character. Apply 2-3 coats of exterior polyurethane for weather protection without obscuring wood grain. Build time: one weekend including finishing.
Exterior Polyurethane Spar Varnish (Quart)
UV-resistant clear finish protects outdoor wood furniture, flexible formula prevents cracking
$20-30
4. Adirondack Chairs from Cedar Fence Pickets
Classic Adirondack chairs epitomize relaxed outdoor living, and building them from cedar fence pickets reduces costs dramatically. Cedar fence pickets ($3-5 each) provide naturally rot-resistant lumber in convenient widths, making these iconic chairs achievable for $40-60 per chair versus $150-300 retail. The slanted back and wide armrests create supremely comfortable seating that becomes patio centerpieces. While more complex than other projects, free plans available online guide even novice builders through the process.
Materials needed: Cedar fence pickets (approximately 15-18 per chair), 2x4 cedar for frame components, exterior wood screws (1.5", 2", and 3" lengths), wood glue, exterior stain or paint. Tools required: Miter saw, jigsaw for curved cuts, drill/driver, measuring tape, square, clamps, sandpaper. Construction steps: Download free Adirondack chair plans online (many excellent options available). Cut all pieces according to plan dimensions—fence pickets form seat slats, back slats, and arms. Assemble seat frame first, attaching slats with even spacing for drainage. Build back support structure, cutting characteristic fan-shaped back slats with jigsaw. Attach wide armrests at comfortable height (typically 7-8 inches above seat). Sand all surfaces smooth, rounding sharp edges for comfort. Apply exterior stain in classic Adirondack colors (white, natural cedar, or coastal blues/greens). Build time: one full weekend per chair for first-time builders, faster for subsequent chairs.
Cedar Fence Pickets (Bundle of 10)
Naturally rot-resistant cedar, 5.5" wide pickets perfect for Adirondack chair construction
$35-50
5. Planter Box Bench Combination
Planter benches merge seating with greenery, creating functional garden features that define spaces beautifully. Two large planter boxes connected by bench seating cost $80-150 in materials versus $400-700 for retail versions, while offering complete size customization. The integrated planters frame seating areas, provide privacy screening when filled with tall plants, and add vertical interest to flat patios. This project suits intermediate builders comfortable with basic carpentry.
Materials needed: 2x4 and 2x2 lumber for frame, 1x6 or 1x8 boards for planter sides and bench seat, exterior wood screws, landscape fabric for planter lining, exterior stain or paint. Tools required: Miter saw, drill/driver, measuring tape, square, level, staple gun, sandpaper. Construction steps: Build two identical planter boxes (typically 18"x18"x18" dimensions work well) using 2x2 corner posts and 1x6 side boards. Line planter interiors with landscape fabric stapled to top edges, preventing soil from contacting wood while allowing drainage. Build bench frame connecting the two planters, using 2x4s for sturdy support spanning the gap (typically 4-6 feet between planters). Attach 1x6 or 1x8 boards across bench frame for seating surface, spacing boards slightly for water drainage. Sand entire piece smooth and apply exterior stain or paint. Fill planters with potting soil and plants—tall grasses, shrubs, or flowers create beautiful framing for the bench. Build time: one full weekend including finishing.
Heavy-Duty Landscape Fabric (3x50 ft)
Breathable fabric for lining planter boxes, prevents soil loss while allowing drainage
$15-25
6. Concrete Block and Wood Slat Dining Table
Modern outdoor dining tables combine industrial concrete blocks with warm wood tops, creating striking pieces for $100-180 versus $500-1000 retail. The concrete block base provides substantial weight that resists wind while requiring zero woodworking for the support structure. Wooden slat tops built from 2x4s or 2x6s create durable surfaces that accommodate outdoor dining for 6-8 people. This project suits those seeking contemporary aesthetics with minimal tool requirements.
Materials needed: Cinder blocks (12-16 for table base), 2x4 or 2x6 lumber for tabletop (quantity depends on size—typically 8-10 boards for 6-foot table), 2x4s for cross supports, wood screws, exterior wood stain or paint, concrete adhesive (optional). Tools required: Saw, drill/driver, level, measuring tape, sandpaper, paintbrush. Construction steps: Arrange cinder blocks in two parallel rows to form table base, spacing rows to desired table width (typically 36-42 inches). Stack blocks 2-3 high to achieve dining height (28-30 inches), using concrete adhesive between layers for permanent installation. Build two cross-support frames from 2x4s that rest across block tops, providing stable base for tabletop. Cut 2x4 or 2x6 boards to desired table length. Lay boards across cross supports, spacing evenly with small gaps for drainage. Screw boards to cross supports from underneath. Sand tabletop smooth and apply exterior stain or paint. For added stability, fill some block hollows with concrete or sand. Build time: one weekend including finishing.
Pressure-Treated 2x6 Lumber (8 ft)
Sturdy lumber for outdoor table tops, resists rot and insect damage naturally
$12-18 per board
7. Hanging Daybed Swing
Hanging daybeds transform covered porches into dreamy lounging retreats that become household favorites. Building from scratch costs $150-250 versus $600-1200 for retail versions, while allowing complete size customization to your space. The gentle swaying motion creates irresistible relaxation spots for reading, napping, or conversation. This project requires sturdy overhead support (ceiling joists or beams rated for 600+ pounds) and intermediate carpentry skills, but delivers showstopping results.
Materials needed: 2x4 lumber for frame, 1x4 or 1x6 boards for platform slats, heavy-duty eye bolts (4, rated for 500+ lbs each), chain or rope (marine-grade, 4 lengths), S-hooks, wood screws, exterior stain or paint, outdoor mattress or cushions. Tools required: Miter saw, drill/driver with large drill bits, measuring tape, square, level, stud finder, sandpaper. Construction steps: Build rectangular frame from 2x4s sized to mattress dimensions (typically twin or full size). Add cross supports every 12-16 inches for strength. Attach 1x4 or 1x6 slats across frame with small gaps for drainage and air circulation. Install heavy-duty eye bolts at four corners of frame, drilling pilot holes and screwing bolts completely through frame with washers and nuts on underside. Sand frame smooth and apply exterior finish. Locate ceiling joists using stud finder and install heavy-duty ceiling hooks rated for hanging furniture. Attach chains or ropes to frame eye bolts and ceiling hooks, adjusting lengths to achieve level hanging position at desired height (typically 18-24 inches off floor). Add outdoor mattress or thick cushions. Build time: one full weekend including installation.
Heavy-Duty Swing Hanging Kit
Complete hardware set with eye bolts, chains, and ceiling hooks rated for 600 lbs
$40-60
8. Tire Ottoman with Rope Wrap
Upcycled tire ottomans transform free materials into trendy outdoor seating that costs $20-40 versus $100-200 for similar retail pieces. Old tires (free from tire shops happy to dispose of them) wrapped in natural rope create surprisingly stylish ottomans, side tables, or extra seating. This beginner-friendly project requires minimal tools and delivers impressive results that spark conversation. The rope covering completely conceals the tire origin, creating textured pieces that complement coastal, bohemian, or eclectic outdoor styles.
Materials needed: Used tire (car or light truck size), 3/4" plywood circle for top (cut to tire diameter), 1/2" sisal or manila rope (approximately 100-150 feet depending on tire size), hot glue gun and glue sticks, spray paint (optional for tire sides), furniture leg pads. Tools required: Jigsaw or circular saw for cutting plywood, hot glue gun, scissors. Construction steps: Clean tire thoroughly with soap and water, allowing to dry completely. Optionally spray paint tire sides in coordinating color. Cut plywood circle to fit tire top opening, sanding edges smooth. Starting at plywood center, apply hot glue and begin coiling rope in tight spiral, gluing each coil to previous one. Continue spiraling rope outward until entire plywood top is covered. Set plywood top into tire opening (should fit snugly). Apply hot glue to tire outer sidewall and begin wrapping rope around tire circumference, working from bottom to top. Keep rope wraps tight and even, gluing every few inches to secure. Continue until entire tire exterior is covered in rope. Attach furniture pads to bottom for floor protection. Optional: stack two tires for taller ottoman. Build time: 3-4 hours per ottoman.
Natural Sisal Rope (1/2 inch x 100 ft)
Durable natural fiber rope perfect for wrapping tire ottomans, weather-resistant
$25-35
Essential Tools for DIY Outdoor Furniture
While specific projects require different tools, a core toolkit handles most outdoor furniture builds. Invest in quality basics that serve multiple projects rather than buying everything at once. A cordless drill/driver ($60-120) tops the essential list—choose one with adjustable clutch and two batteries for uninterrupted work. Circular saw or miter saw ($80-200) makes straight cuts in dimensional lumber, with miter saws offering easier angle cuts for more complex projects. Orbital sander ($40-80) transforms rough lumber into smooth, splinter-free surfaces far faster than hand sanding. Measuring tape, square, and level (total $30-50) ensure accurate, professional-looking results. Clamps ($30-60 for set) hold pieces during assembly and gluing. Safety equipment—eye protection, ear protection, and dust mask ($20-30)—protects you during builds. This $260-540 toolkit investment enables dozens of furniture projects over years, paying for itself in the first few builds.
20V Cordless Drill/Driver Kit
Complete kit with drill, two batteries, charger, and carrying case—essential for all projects
$80-120
Weatherproofing and Finishing Tips
Proper finishing extends DIY furniture life from seasons to years, protecting your investment and labor. Exterior wood stain penetrates lumber while allowing grain to show, offering easier maintenance than paint since it doesn't peel. Choose semi-transparent stains for natural wood look or solid stains for more color coverage. Spar varnish or exterior polyurethane creates protective topcoat over stain, with UV inhibitors preventing sun damage. Apply 2-3 thin coats rather than one thick coat for better penetration and durability. For painted finishes, use exterior primer followed by exterior paint formulated for wood—deck paint offers maximum durability. Sand between coats for smooth professional finish. Reapply finish every 2-3 years depending on sun exposure and weather conditions. Store cushions and fabric elements indoors during harsh weather or winter months. Cover furniture with waterproof covers during extended non-use periods. Elevate furniture slightly off ground with furniture pads or blocks to prevent moisture wicking from concrete or ground contact. These simple maintenance steps keep DIY furniture looking great for 5-10+ years.
Exterior Wood Stain (Gallon)
Semi-transparent stain with UV protection, covers 200-350 sq ft, available in multiple colors
$30-50
Budget-Saving Material Sourcing Strategies
Smart material sourcing dramatically reduces project costs without compromising quality. Free pallets from businesses, warehouses, or distribution centers provide abundant lumber—call ahead to ask about availability and ensure pallets are heat-treated (marked "HT") rather than chemically treated. Reclaimed wood from old fencing, barn boards, or demolition projects offers character-rich lumber often available free or cheap from Craigslist, Facebook Marketplace, or Habitat for Humanity ReStores. End-of-season sales at home improvement stores discount outdoor lumber and supplies 30-50%. Buying lumber in bulk (full bundles rather than individual boards) saves 10-20% at most retailers. Cull lumber—boards with cosmetic imperfections but structural integrity—sells at steep discounts and works perfectly for projects where appearance matters less. Used tires from tire shops provide free materials for creative projects. Borrow or rent specialized tools rather than buying for one-time use—many libraries now offer tool lending programs. Join local woodworking or maker groups to share tools and materials. These strategies often cut project costs by 40-60%, making ambitious furniture builds achievable on tight budgets.
Deck Screw Assortment Kit (1000+ pieces)
Exterior-rated screws in multiple sizes, corrosion-resistant coating for outdoor use
$25-40
Safety Considerations for Outdoor Furniture
Building safe furniture requires attention to structural integrity and material selection. Always use exterior-grade fasteners (deck screws, galvanized or stainless hardware) that resist rust and corrosion—interior screws fail quickly outdoors. Ensure seating furniture supports 250+ pounds per seat to accommodate users safely. For hanging furniture like swings or daybeds, ceiling attachment points must anchor into structural members (joists or beams), never just ceiling material. Use hardware rated for 3-4 times the expected load for safety margin. Sand all surfaces thoroughly to eliminate splinters and sharp edges. Round over sharp corners on tables and benches for safety around children. Test furniture stability before use—wobbly pieces need additional bracing or support. Avoid using chemically-treated pallets (marked "MB" for methyl bromide) for furniture that contacts skin. Pressure-treated lumber contains preservatives safe for outdoor use but requires gloves during cutting and sanding. Apply non-slip pads to furniture bottoms to prevent sliding on smooth surfaces. Regularly inspect DIY furniture for loose fasteners, cracking wood, or structural issues, addressing problems immediately. These precautions ensure your DIY creations provide years of safe, enjoyable use.
Safety Glasses and Work Gloves Set
Essential safety equipment for woodworking projects, impact-resistant glasses and durable gloves
$15-25
Start Building Your Outdoor Oasis
DIY outdoor furniture projects democratize beautiful patio living, making stylish outdoor spaces accessible regardless of budget constraints. These eight projects range from beginner-friendly tire ottomans to intermediate hanging daybeds, ensuring options for every skill level. The satisfaction of building furniture with your own hands combines with significant cost savings—often 60-80% less than retail equivalents. Start with simpler projects like cinder block benches or pallet sofas to build confidence and skills, then progress to more complex builds. Each completed piece adds functionality and character to your outdoor space while developing carpentry skills applicable to countless future projects. The investment in basic tools pays dividends across years of builds, while smart material sourcing keeps costs minimal. Most importantly, DIY furniture carries personal meaning that store-bought pieces never achieve—every time you relax on that pallet sectional or gather around your handmade dining table, you'll feel pride in creating something beautiful and functional. Transform your outdoor space one project at a time, building the patio retreat you've always wanted at a fraction of retail costs.
Related Posts

Budget-Friendly Patio Makeover Ideas
Transform your outdoor space without breaking the bank

12 Southern Porch Ideas That Steal the Show
Classic charm meets modern comfort in these timeless porch designs

12 Small Closet Organization Ideas For Your Bedroom
Transform cramped closet chaos into organized bliss with clever storage solutions