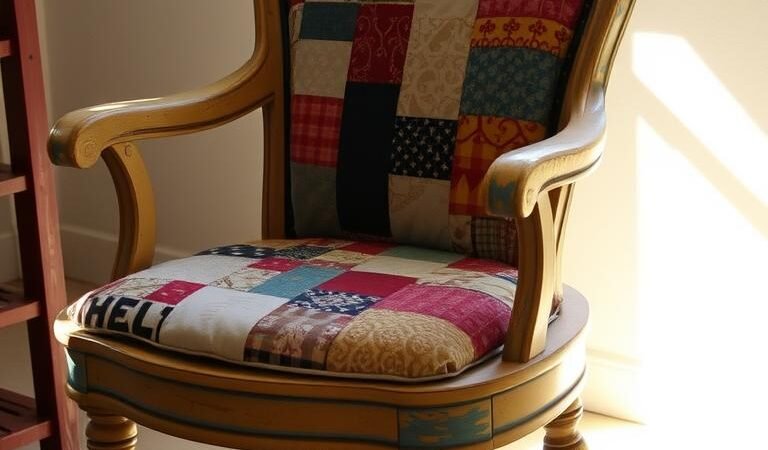
There’s something magical about rescuing a worn-out furniture piece and turning it into a stunning showstopper. A simple wooden seat from a thrift store can become the focal point of any home with just a little creativity. The process isn’t just about aesthetics—it’s a sustainable way to reduce waste while crafting something uniquely yours.
Wooden frames are perfect for revamping. Their sturdy build and easy-to-modify design make them ideal for beginners. Whether it’s a fresh coat of paint or reupholstering the seat, the possibilities are endless. Plus, small projects like these let you experiment without a huge commitment.
Ready to dive in? This guide will walk you through each step—from repairs to finishing touches. For more inspiration, check out this chair rescue story that proves even the most neglected pieces can shine again.
Key Takeaways
- Reviving old furniture reduces waste and adds character to your space.
- Wooden frames are beginner-friendly due to their simple structure.
- A mix of paint and fabric can completely change a piece’s look.
- Small projects allow for creative experimentation.
- Sustainable choices make a positive environmental impact.
Introduction to Chair Upcycling
Every piece of furniture tells a story—especially those forgotten in thrift stores. With a little effort, a scratched-up seat can become a statement piece that breathes new life into your home.
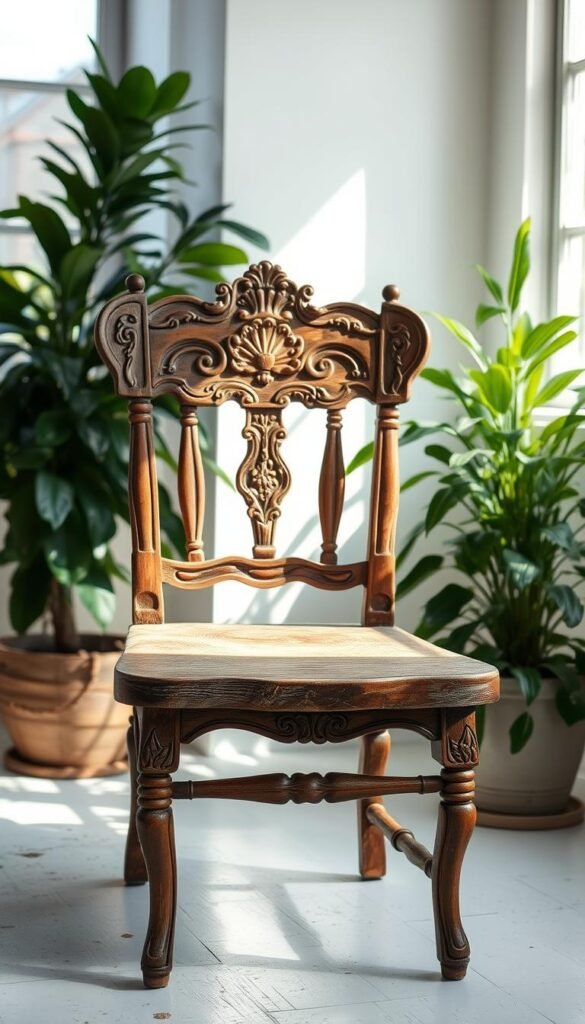
Upcycling is more than a trend; it’s a sustainable movement. By rehabilitating worn pieces, you reduce waste and create one-of-a-kind decor. Here’s why it’s worth the effort:
- Cost-effective: Most projects cost under $20, compared to $100+ for new items.
- Creative freedom: Choose colors and fabrics that match your style perfectly.
- Eco-friendly: Keeps usable items out of landfills.
Worried about repairs? Most fixes—like tightening joints or replacing padding—are beginner-friendly. Start small, and soon you’ll see potential in every vintage find.
| Upcycling | Buying New |
|---|---|
| Unique design | Mass-produced |
| $5-$20 budget | $100+ average cost |
| Eco-conscious | Higher carbon footprint |
This project isn’t just about saving money—it’s about crafting a piece that reflects your personality. Ready to start?
Assessing Your Thrifted Chair
Before diving into creative changes, inspect your find for hidden flaws. A quick evaluation ensures your project starts on solid ground—literally. Look for sturdy construction and avoid pieces with irreversible damage.
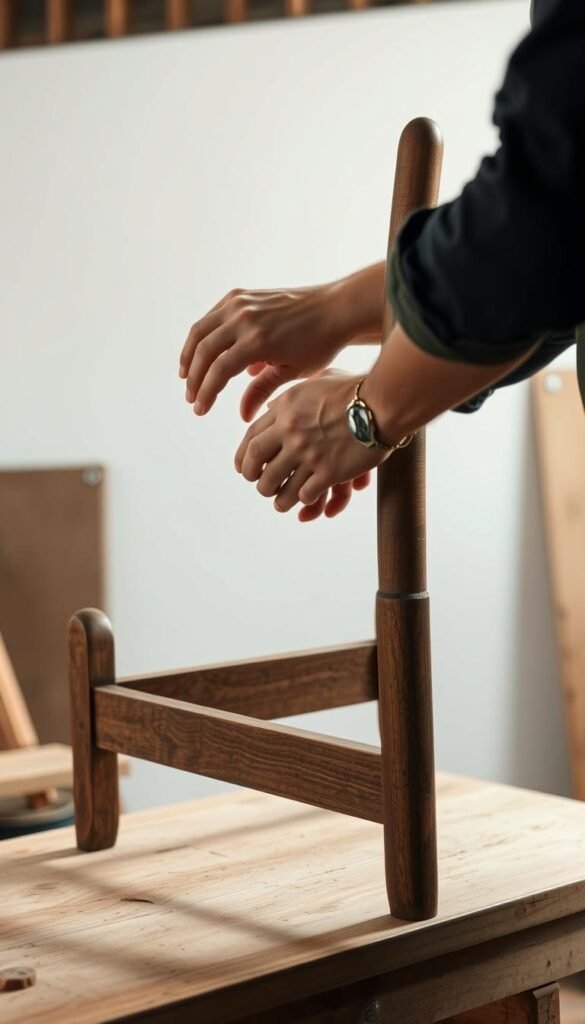
Identifying Structural Issues
Perform a 4-point stability check to spot problems early. First, gently rock the chair—wobbly legs often mean loose joints. Next, examine the frame for cracks or splits, especially in spindles or seat supports.
Check the seat for sagging or broken springs. Finally, run your hand along the surface. Rough veneer or soft spots signal wood rot. Red flags like irreparable caning or deep cracks might mean it’s time to walk away.
Choosing the Right Chair for Upcycling
Ideal candidates have solid wood frames and intact joinery. Removable seats make reupholstering easier, while simple designs offer blank canvases for paint. Test original hardware—rusty screws may need replacing.
Use this quick guide to decide your approach:
- Restore: Minimal damage, beautiful original details.
- Paint: Stable frame but worn finish.
- Reupholster: Strong base with torn fabric or padding.
Vintage finds with good bones are worth the effort. A little patience during inspection pays off in a stunning final result.
Gathering Your Tools and Materials
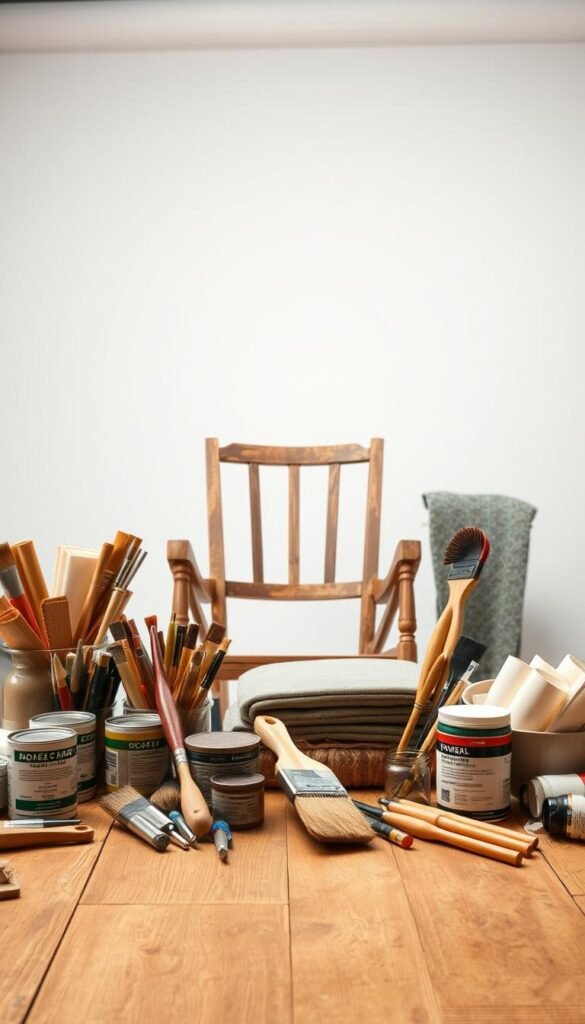
Quality materials elevate DIY projects from ordinary to extraordinary. Whether restoring a vintage gem or modernizing a classic, the right tools and supplies ensure professional results. Start by organizing a dedicated workspace—clear surfaces and good lighting make every step smoother.
Essential Tools for the Project
A curated toolkit saves time and frustration. For wood revival, Murphy’s Wood Soap cleans grime, while Citristrip safely removes old finishes. Must-haves include:
- Staple gun: Secures fabric tautly during reupholstery.
- Sanding blocks (80-220 grit): Create a buttery-smooth surface for paint.
- Kreg Jig: Reinforces loose joints invisibly.
- Household hacks: Butter knives tighten screws in a pinch.
Selecting Paint and Fabric
Choose paint based on desired texture and durability. Chalk paint offers a velvety matte finish, while latex resists wear in high-traffic areas. For fabric, calculate yardage by chair style:
- Slipper chairs: 1 yard
- Wingbacks: 3+ yards (include pattern matching).
| Material | Eco-Friendly Pick | Budget Alternative |
|---|---|---|
| Stripper | Low-VOC Citristrip | Vinegar solution |
| Foam | Natural latex | Mattress topper |
| Fabric | Organic cotton | Drop cloth |
Pro tip: Dilute paint 10% with water for smoother strokes. For rustic charm, repurpose grain-sack textiles or linen curtains.
Prepping the Chair for Transformation
Reviving tired furniture begins with careful preparation—like giving it a spa day. A deep clean and minor repairs ensure your wood piece looks polished and lasts decades. Follow this step-by-step process to create a flawless foundation.
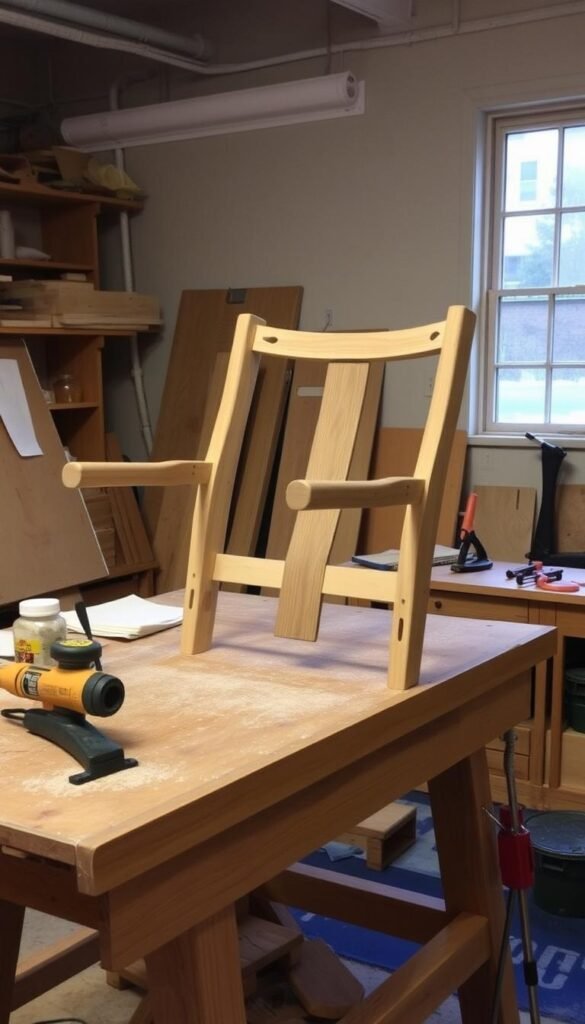
Cleaning and Sanding
Start with a Murphy’s Oil soap bath to remove grime. Use a soft brush for crevices—think dental-style precision for joints. For stubborn dirt, a vinegar-water mix cuts through decades of buildup.
Once dry, sand the frame thoroughly. Pro tips:
- Drill attachments: Save time on spindles and carvings.
- Grit progression: Begin with 80-grit for rough spots, finish with 220 for velvety smoothness.
Repairing Loose Joints or Breaks
Wobbly legs? Inject glue into cracks using a syringe for deep penetration. Secure with ratchet straps or padded vises—angled clamps work wonders for tricky corners.
For veneer issues:
- Patch: Use wood filler for small chips.
- Replace: Peel away damaged sections if over 30% compromised.
Let repairs cure fully before moving to the next stage. Patience here ensures a rock-solid result.
Painting the Chair Frame
The right paint transforms a tired frame into a designer statement. Whether opting for milk paint‘s soft matte or powder coating’s industrial durability, preparation determines longevity. For more upcycling tips, explore this resource on reviving furniture with creative flair.
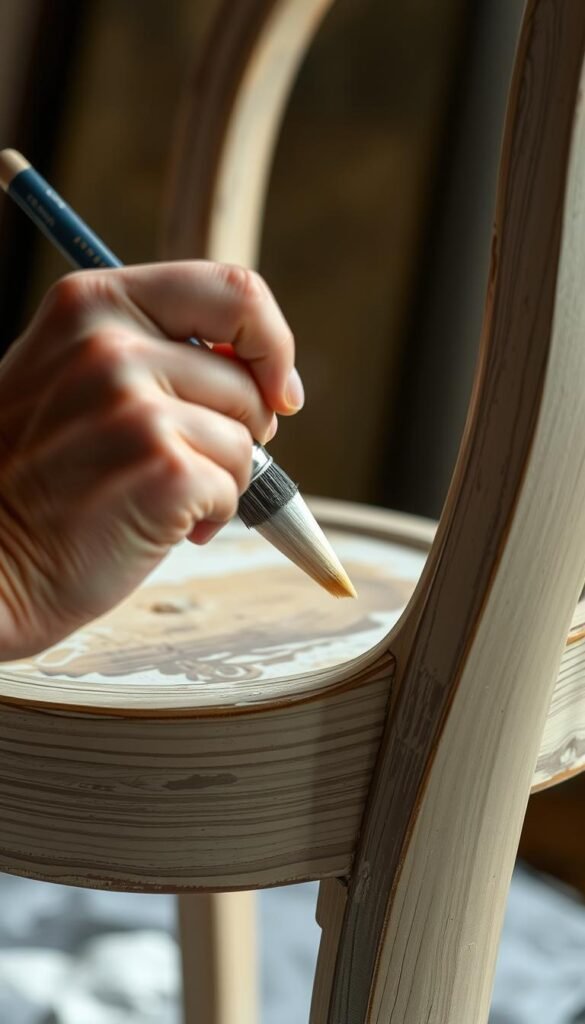
Applying Primer (If Needed)
Not all projects require primer—chalk paint adheres well to bare wood. For latex or oil-based options, a thin coat of stain-blocking primer prevents bleed-through. Consider these factors:
- Wood type: Pine benefits from sanding sealant to prevent uneven absorption
- Color change: Dark-to-light transitions need tinted primer
- Durability: Bonding primers strengthen adhesion on glossy surfaces
Techniques for a Smooth Finish
Foam rollers eliminate brush marks on flat surfaces, while angled sash tools reach intricate carvings. Work from the top down to catch drips on legs. Between coats:
- Sand lightly with 220-grit paper
- Remove dust with tack cloth
- Maintain 70°F room temperature to prevent blush marks
| Finish Type | Best For | Curing Time |
|---|---|---|
| Beeswax | Vintage charm | 24 hours |
| Polycrylic | High-traffic areas | 72 hours |
| Glaze | Highlighting details | 48 hours |
For artistic touches, try gold leaf accents on turned legs or two-tone distressing. Seal decorative work with clear finish for protection.
Reupholstering the Chair Seat
Breathing new life into furniture starts with the perfect fabric makeover. A well-executed seat revival blends aesthetics with durability—whether opting for vintage florals or modern linen. The process unfolds in two phases: stripping the old and securing the new.
Removing Old Fabric and Padding
Begin by decoding the chair’s history. Original fabric layers reveal construction secrets—like how many staples secured the trim. Use needle-nose pliers to extract staples, preserving the seat’s wooden base.
Inspect the padding beneath. Crumbly foam or flattened batting needs replacement. For eco-conscious projects, consider:
- Coconut fiber: Sustainable and mold-resistant.
- Recycled cotton: Soft but dense for support.
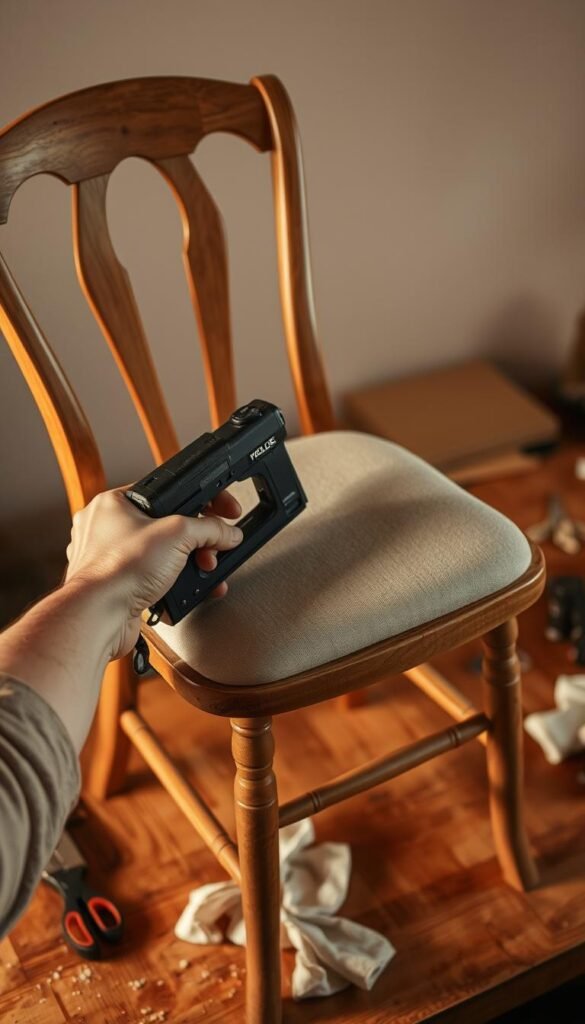
Attaching New Fabric with a Staple Gun
Master tension for a drum-tight finish. Start at the seat’s center front, pulling fabric taut toward the back. Anchor with a single staple, then work outward like a compass.
Pro tip: For patterned textiles, align motifs symmetrically before stapling. Use the hospital-corner technique for sharp edges:
- Fold excess material diagonally at corners.
- Staple vertically, not horizontally, to prevent bunching.
| Stuffing Material | Pros | Cons |
|---|---|---|
| High-resiliency foam | Long-lasting support | Higher cost |
| Wool batting | Breathable, natural | Requires fluffing |
Troubleshoot common staple gun issues—like misfires—by adjusting pressure or switching to ¼” staples for thin frames. The final result? A seat that’s as sturdy as it is stylish.
Conclusion: Enjoy Your Upcycled Masterpiece
Your refreshed piece now stands ready to elevate any home. Style it with neutral-toned pillows or a bold throw to match your decor—effortless ways to make it shine. For cohesive styling ideas, explore affordable living room accents that complement handcrafted furniture.
Maintain its beauty with gentle care. Dust painted surfaces weekly and treat fabric with stain repellent. A well-kept project lasts years, saving hundreds compared to store-bought alternatives.
Ready for more? Start with simple seats before restoring family heirlooms. Share extras with local shelters—your creativity sparks joy beyond your space. Every revived piece tells a story of sustainability and style.
